


How We Ensure you draw Attention with Your Custom Inflatable archway
Work together with a team of inflatable experts with over 16 years of experience in inflatable design & creation.
Affordable – Premium Quality – Free Quote & Concept Artwork
Affordable – Premium Quality – Free Quote & Concept Artwork
Our Promise
CUSTOM INFLATABLE ARCHES MADE TO LAST

How It Works
Step 1: Size & Shape
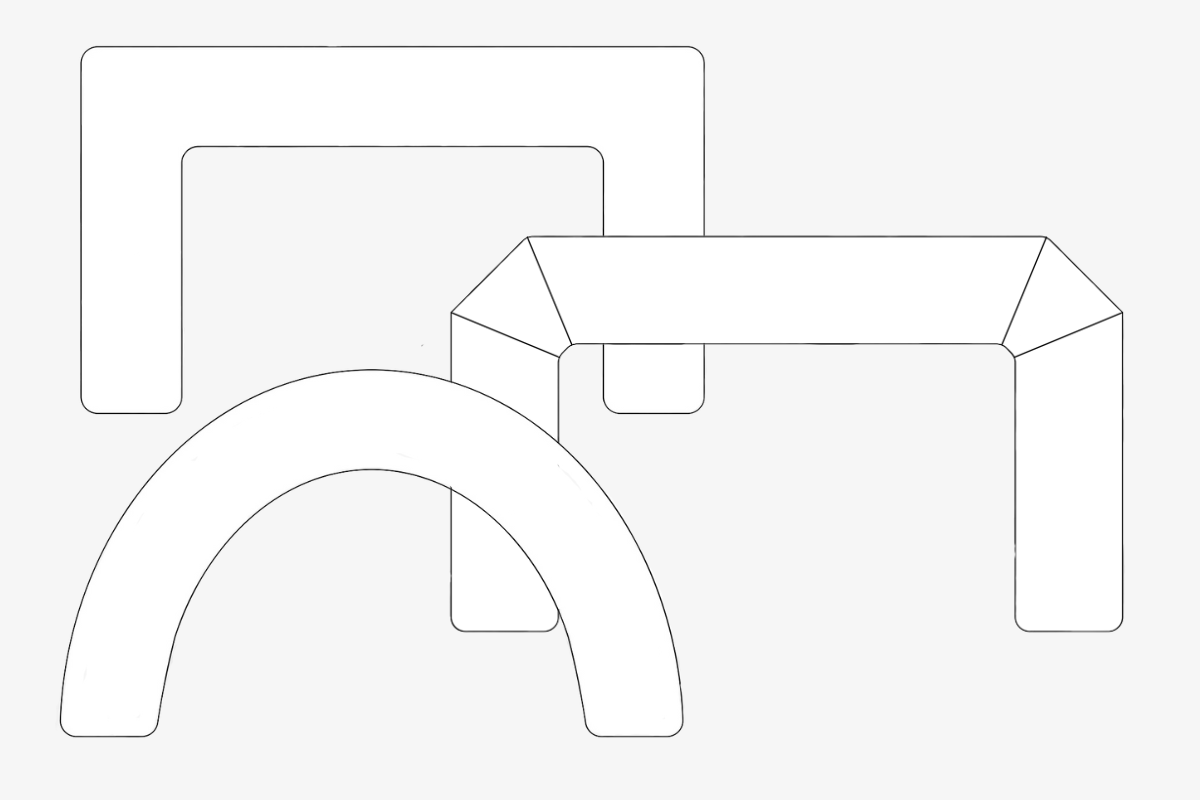
First of all, determine the size and shape of your inflatable arch. It’s important to think about where you’ll place it and what you’ll use it for. Sometimes, a rectangular arch is more practical than a curved one, for example.


Step 2: Add-Ons
After determining the size and shape of the archway, you can decide on optional add-ons. We have different extras for your custom archway. For example, we can make your archway air-sealed, this way there is no need for a constant blower. Alternatively, you could add LED lights to make it stand out both during the day and at night. You could even select banners that can be easily switched out for different events. More details can be found below.
Step 3: Design Idea & Logo
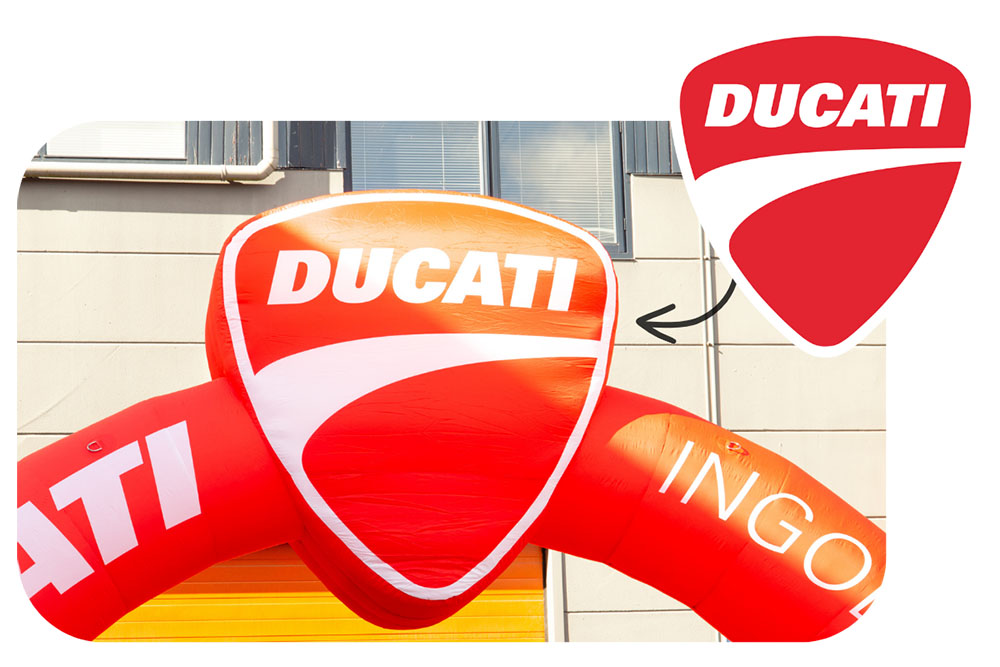
In this step, you have the opportunity to express your wishes or ideas about the design of the inflatable archway. Do you already have an idea of what the arch should look like? Perfect! You do not know yet? No problem! Our design team can create a design for your inflatable archway from scratch. You can upload your logo and/or other relevant design elements necessary for the design of your custom archway and our designers will design the perfect archway for your event!
Step 4: No-Obligation Quote
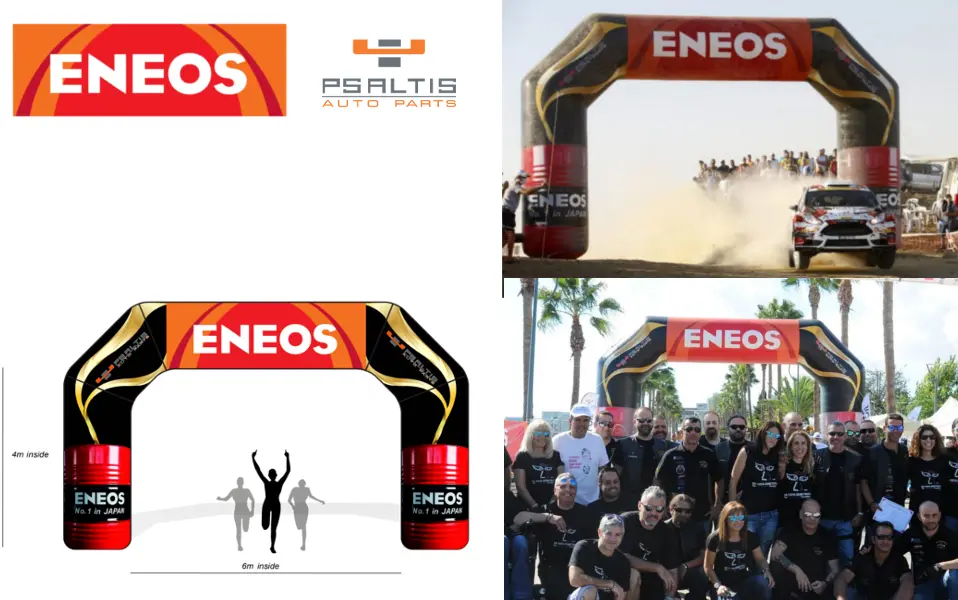
Once you have uploaded relevant documents and/or expressed your wishes and ideas for the archway, you will receive a free, no-obligation quote and a concept illustration. This concept illustration will show what your archway looks like and includes unlimited revisions. Our designers will design your archway the way you visualize it based on your wishes and requirements.
STEP 5: Confirmation & Delivery
Are you satisfied with the concept illustration and price? Great! You can now confirm your order and fulfill the pre-payment to start the production of your custom archway. Once the order is confirmed, production will start. Your custom archway will be ready in 4-5 weeks and will be delivered to your doorstep. Shipping costs are included in the price!
Practical Information
Optional Arch Add-ons |
|
|---|---|
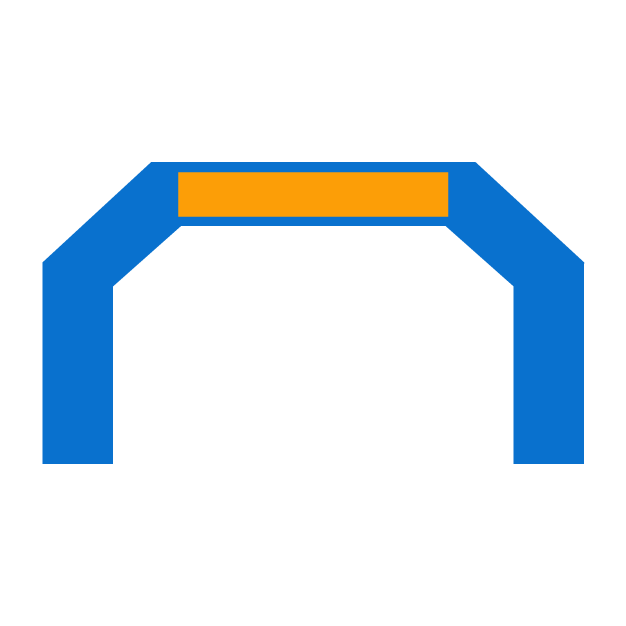 |
Top Banner Use this banner as an interchangeable start and finish banner. |
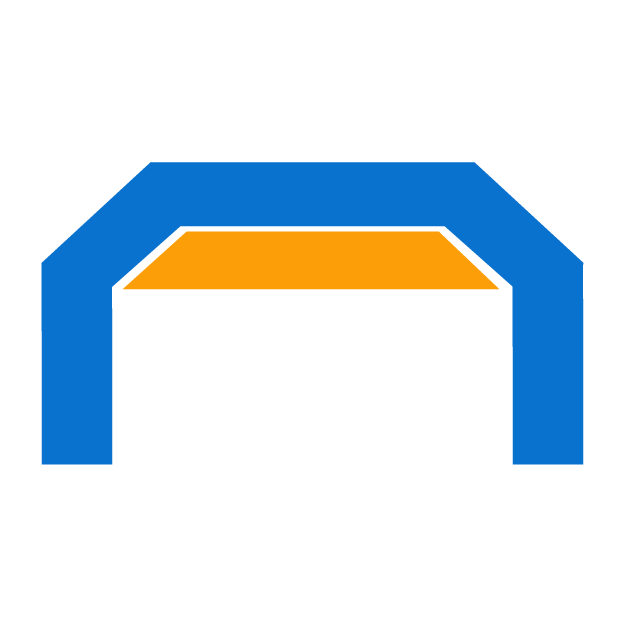 |
Hanging Banner Use this banner as an interchangeable start and finish banner. |
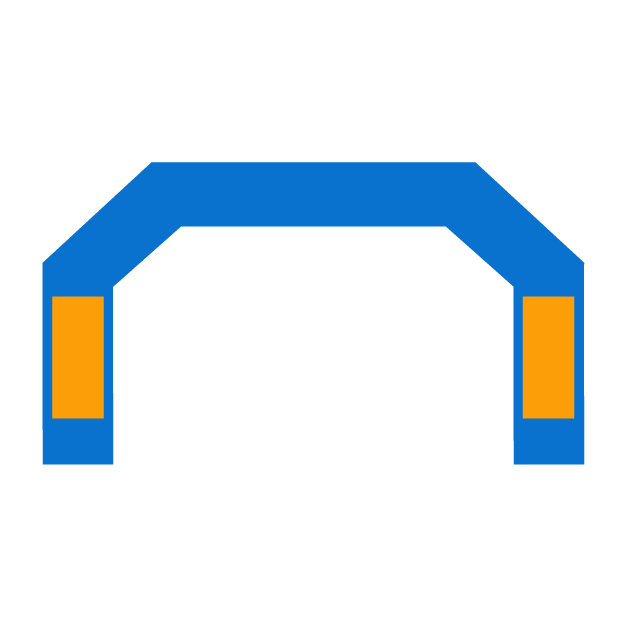 |
Pillar Banners Interchangeable banner perfect for e.g., sponsors |
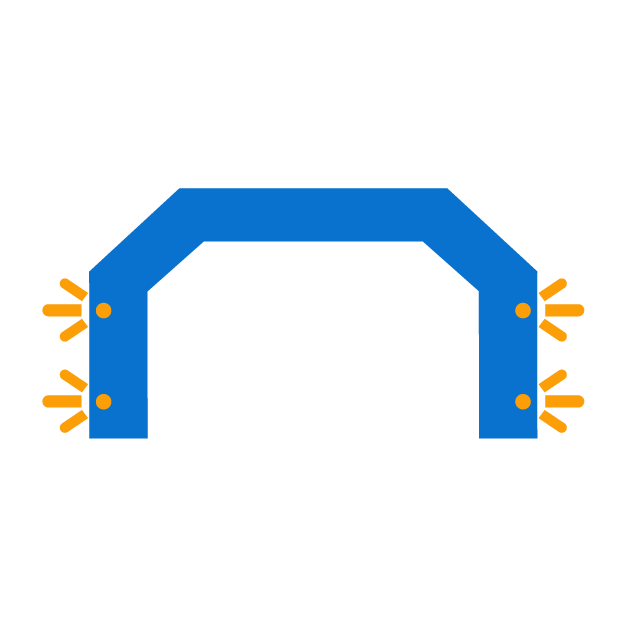 |
LED Lights Use your archway during the day and night |
 |
Stabilizers Add more stability to your archway |
Inflatable Arch – Product Specifications
Your inflatable arch will be delivered with everything you need to use it at any event. Great sport events as a inflatable start and finish arch. Customize your arch with banners to present sponsors or quick customizations.
Optional Customizations |
|
|---|---|
|
Top Banner |
|
Hanging Banner |
|
Pillar Banners |
|
LED Lights |
|
Stabilizers |
Portfolio – Inflatable Arches

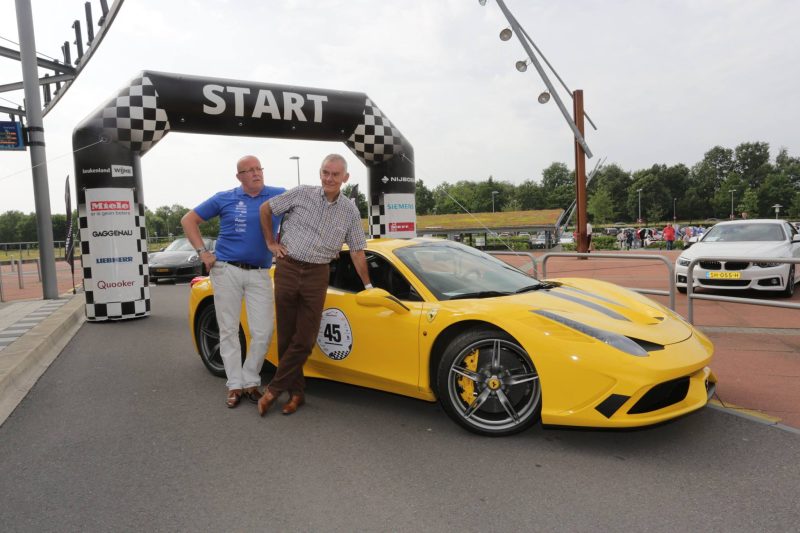
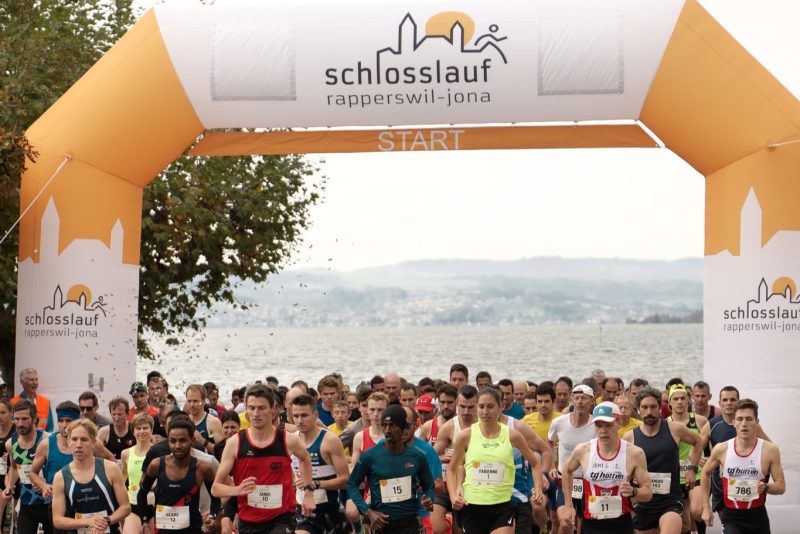

Custom Inflatable Arch for FC Erzgebirge
“The Promo Bears archway is a visual highlight for spectators and athletes right at the start of the competitions.”
Why work with promo bears?
Work together with a team of inflatable experts with over 16 years’ experience in inflatable design & production.
Our services include:
- FREE concept artwork. Showing you how your custom inflatable arch will look. Including unlimited revisions.
- FREE quote with no obligation.
- Eye-catching & professional inflatables, merchandise and mascots.

Get A Free, No-Obligation Quote
We would love to hear from you! Fill in the form to request your custom arch. This form includes simple questions about your custom archway. We will ask you about:
We would love to hear from you! Fill in the form to request your custom arch. This form includes simple questions about your custom archway.
No design idea yet? No problem! Our design team can design your custom archway from scratch based on your wishes and requirements. Fill in the form to discover the possibilities for your custom archway!

Frequently Asked Questions – Inflatable Arches
If you already have a design for your project, feel free to send it to us! Our design team will create an inflatable design with all the views (front, side, and back) for you. Once approved, our production team will faithfully replicate your inflatable according to it.
No design? No problem! Our design team will create a design from scratch according to your preferences and wishes.
Our designs are no obligation and are open to your feedback.
First of all, be sure to position your inflatable on a flat surface (ideally a soft one, like grass). Check the ground and remove all the sharp objects (like stones or glass). Also, make sure there is no fire or any other heat source close to your inflatable.
After you remove your inflatable from the carry bag, roll it out completely and make sure all the air exit points or zippers are closed. Put the air hose over the opening of your blower and fasten it tight to the blower. Now you can plug in the blower and switch it ON: the inflating process will start. You can now guide your inflatable to the proper position. Please make sure the blower is always ON for continuous airflow. Now you can put your inflatable in the desired position and anchor it.
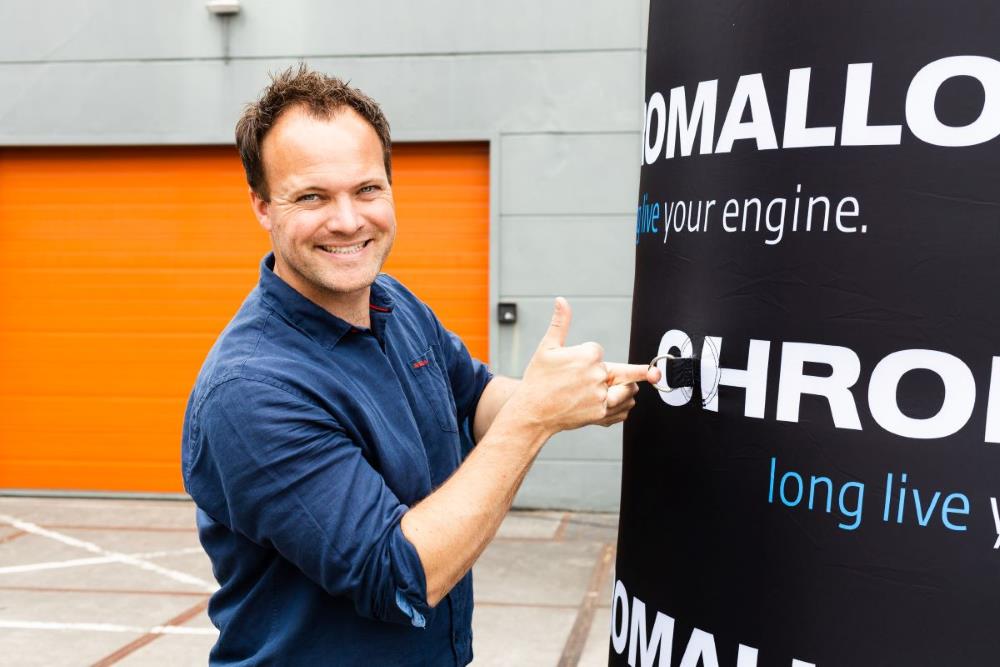
To anchor your inflatable properly and prevent it from shifting or falling, we recommend using the materials included with the purchase of your inflatable (ropes and ground pins). Use two ground pins on the front and two on the back. Also, attach the shoes/feet/bottom of your inflatable through the metal D-rings to the ground with the ground pins. If you are positioning your inflatable on the road or in a trade show booth, make sure the ropes are attached to your booth, to the ceiling, and/or to some sandbags.
Before starting, make sure you have enough space to disassemble your inflatable, that there are no sharp objects nearby, and that your inflatable is fully dry. Two people are required to disassemble your inflatable.
Firstly, switch the blower to “OFF” and unplug the blower. During the deflation of the inflatable, help it to fall to the ground in a controlled way. We recommend removing any electric cables, to be sure nobody could trip over them.
Next, disconnect the air hose from the blower and open the air hose (Velcro and the zippers) of your inflatable to let the air go out.
Untie the ropes from the ground pins and remove them. Put your inflatable flat on the ground and make sure all the air is out before folding and rolling it.
Now make a rectangle with your inflatable starting from the extremities and folding them to the center. Go on with rolling up your inflatable carefully. With two persons, fold one side first and then the other (the goal is to have your inflatable about 2 – 2 ½ feet wide).
Now roll the length of the inflatable towards the air hose; by doing that, you should be able to remove any air that is still inside your inflatable.
Afterward, put your rolled-up inflatable into your carry bag.
We do not recommend using your inflatable in strong winds (more than 25mph). Also, our advice is not to use your inflatable when is raining heavily (while your inflatable can withstand rain, the blower is only splashproof).
To clean your inflatable properly you can just use water with a bit of dish soap and a cloth. We recommend cleaning it while inflated, lying on the floor or ground so you can reach every part easily. Please be sure that your inflatable is completely dry before packing or storing it.
You can decide to go for the Polyester 420D (anti-scratch and ideal for complex designs to be printed on your inflatable) or the PVC (strong and resistant, ideal for outdoor/water events and for giant inflatables) material. Our inflatable experts will always recommend the best option according to your needs. You can also decide to make your inflatable air-sealed (an option available only with the PVC material) to avoid the need to have a blower constantly working to keep it inflated.
Our standard delivery time for our inflatables is 4-5 weeks from the start of production. If you have a rush project, we can deliver it to you in 3-4 weeks for a 20% rush fee on the total price. The delivery cost for North America is always included in the inflatable price.