
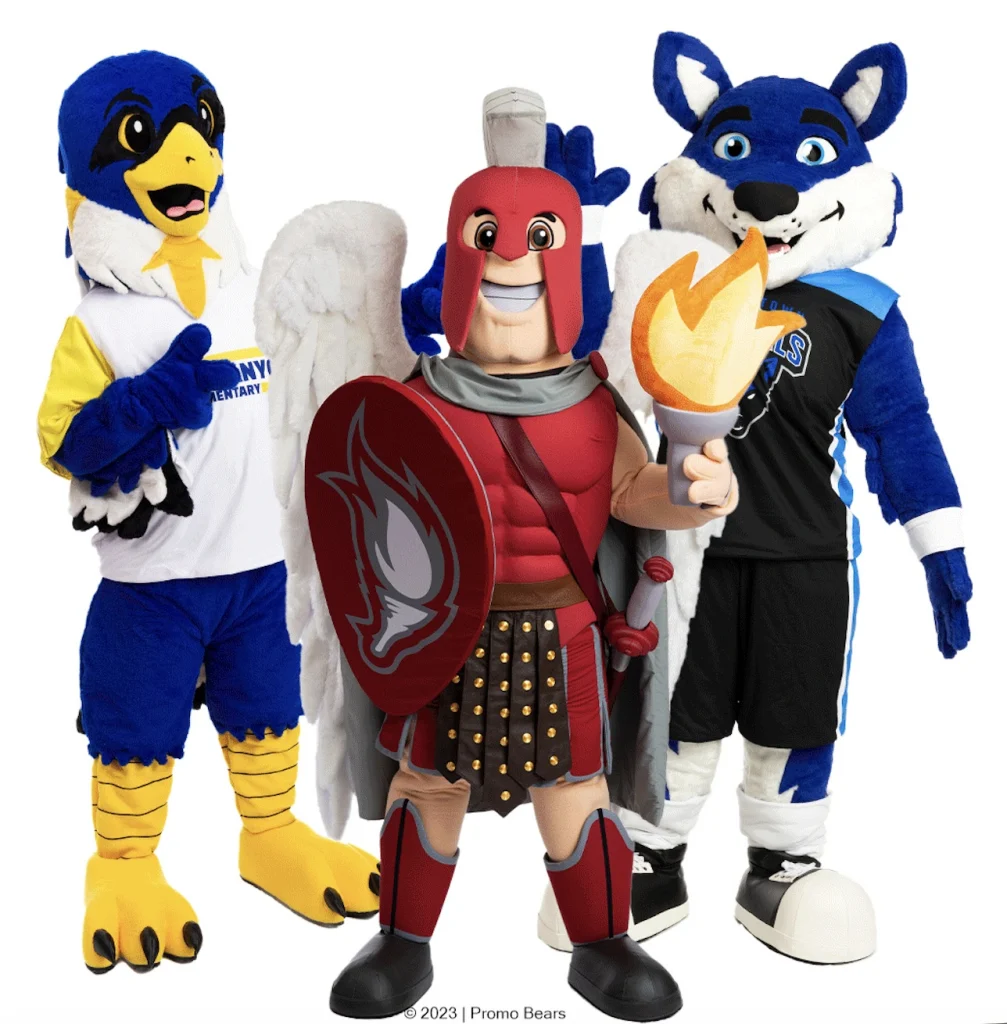
The best foam for mascot heads is polyurethane (PU) foam, specifically a medium-density variety that balances structural firmness with lightweight comfort. It carves cleanly, holds complex shapes well, and is widely used by professional mascot builders for exactly those reasons. EVA foam is a strong second choice for certain applications, and understanding the difference between the two helps you make the right call for your specific project. Below, we break down every key question around foam selection so you can build or order a mascot head with confidence.
Which foam types are most commonly used in mascot heads?
The two foam types most commonly used in mascot heads are polyurethane (PU) foam and EVA (ethylene-vinyl acetate) foam. Polyurethane foam is the industry standard for full mascot head construction because it carves easily, accepts adhesives well, and can be shaped into almost any form. EVA foam is often used for reinforcing specific areas or building simpler flat-pattern structures.
Beyond these two, some builders use upholstery foam for interior padding, adding a soft layer between the carved shell and the performer’s head. Spray foam is occasionally used to fill gaps or add quick volume, though it is difficult to control and is rarely used as a primary building material.
- Polyurethane foam: The go-to for carving, shaping, and building the outer structure of a mascot head
- EVA foam: Best for flat-pattern construction, edge detailing, and reinforcing high-stress areas
- Upholstery foam: Used inside the head for comfort padding and fit adjustment
- Foam clay or rigid foam: Sometimes used for fine detail work or creating hard surface features
For most mascot head builds, polyurethane foam does the heavy lifting. It is the material that professional costume makers reach for first, and for good reason.
What’s the difference between EVA foam and polyurethane foam for mascot heads?
The key difference between EVA foam and polyurethane foam for mascot heads is how they are shaped and what structural role they play. Polyurethane foam is carved using knives, rasps, and electric carving tools to sculpt three-dimensional forms. EVA foam is cut and heat-formed using flat patterns, then bent into shape with a heat gun. They serve different construction methods rather than being direct substitutes.
Polyurethane foam excels at creating organic, rounded shapes like animal snouts, jowls, and brow ridges. It is soft enough to carve by hand but firm enough to hold its sculpted form once sealed. EVA foam, on the other hand, is denser and more uniform, making it ideal for geometric shapes, structured panels, or areas that need to resist compression over time.
From a weight perspective, EVA foam tends to be heavier per volume than medium-density PU foam, which matters when a performer needs to wear the head for extended periods. Polyurethane foam also bonds more readily with contact cement and fabric glues, making it easier to layer materials on top during finishing.
If you are building a complex, character-driven mascot head with lots of facial expression and organic curves, polyurethane foam is almost always the better choice. EVA foam shines when you need durability, clean edges, or a more structured silhouette.
How does foam density affect mascot head performance?
Foam density directly affects how a mascot head holds its shape, how heavy it feels on the performer, and how well it survives repeated use. Higher density foam is heavier and more durable, while lower density foam is lighter but compresses more easily over time. For mascot heads, a medium density range is generally the sweet spot.
Very low-density foam may feel light at first, but it dents, warps, and loses its shape after a few uses, especially around areas that experience contact or pressure. Very high-density foam is robust but adds significant weight to the head, which creates fatigue for the performer and can make the costume uncomfortable to wear for longer events.
Medium-density polyurethane foam strikes the right balance. It is firm enough to maintain crisp sculpted edges and hold paint or coating without cracking, but light enough to keep the overall head weight manageable. Professional mascot builders often layer densities strategically, using slightly firmer foam in structural zones like the forehead and jaw, and softer foam in areas that need flexibility.
Density also affects how the foam responds to heat and humidity, which matters in performance environments. Lower density foams can absorb moisture more readily, which adds weight and can lead to odor issues over time. Sealed and coated medium-density PU foam handles these conditions much better.
What foam is best for carving a mascot head shape?
The best foam for carving a mascot head shape is medium-density polyurethane foam, often sold in blocks or sheets specifically designed for sculpting. It cuts cleanly with a serrated knife, responds well to rasps and sandpaper for fine detailing, and holds sharp edges without crumbling. Most professional mascot builders use it as their primary carving material.
When selecting PU foam for carving, look for a density that offers some resistance when you press it with your finger but springs back fully. Foam that is too soft will tear during carving rather than cut cleanly. Foam that is too hard resists carving tools and makes detailed work frustrating and imprecise.
The carving process typically starts with rough shaping using a long serrated knife or electric carving tool, followed by finer work with a rasp or coarse sandpaper. Once the basic form is established, builders refine curves and surface texture before sealing the foam with a flexible coating such as Plasti-Dip or a fabric-based finish. This sealing step is critical because raw foam cannot be painted directly and will degrade quickly without protection.
EVA foam is not well suited for freehand carving because it does not respond the same way to sculpting tools. If you attempt to carve EVA foam the way you would PU foam, you will find it tears rather than cuts cleanly, and the surface texture is difficult to refine.
How does foam choice affect mascot head comfort and ventilation?
Foam choice has a significant impact on mascot head comfort and ventilation because it determines the overall weight of the head, how well it fits around the performer’s face, and how much airflow can be built into the structure. Lighter foam reduces neck strain, while open-cell foam structures allow better airflow compared to dense, closed-cell materials.
Polyurethane foam used in mascot heads is typically an open-cell structure, which means air can move through it more freely than through closed-cell EVA foam. This matters because ventilation inside a mascot head is one of the most important comfort factors for a performer. A head that traps heat quickly becomes uncomfortable and limits how long someone can wear it safely.
Beyond the foam itself, how the head is constructed around the foam plays an equally important role. Professional mascot makers design the interior to create channels for airflow, often routing a small fan system through the structure. The foam shell needs to accommodate these features without compromising the overall shape. A well-carved polyurethane foam head can be hollowed strategically to improve airflow without weakening the structure.
Comfort also depends on interior padding. Even the best-carved foam shell needs a soft inner lining and an adjustable headband or suspension system so the head sits correctly and does not rest directly on the performer’s skull. The foam choice for this inner layer should prioritize softness and breathability over structural firmness.
Should you build a mascot head yourself or order from a professional?
Building a mascot head yourself is a viable option if you have sculpting experience, access to the right materials, and significant time to invest. However, for most organizations, ordering from a professional mascot maker produces a better result faster and at a more predictable total cost when you factor in materials, tools, and the learning curve involved in a DIY build.
A DIY mascot head requires sourcing the right foam, carving tools, adhesives, coatings, fabric, and finishing materials. Each of those choices involves research, and mistakes at any stage can mean starting over. For first-time builders, the process often takes much longer than expected, and the result may not meet the quality standard needed for brand representation or professional use.
That said, DIY makes sense in certain situations. If you are building a one-off costume for a personal project, a school theater production, or a community event where budget is the primary constraint, learning the craft is a rewarding experience. There is a large community of mascot builders online who share techniques and material recommendations that can help flatten the learning curve.
For businesses, sports teams, universities, and brands that need a mascot to represent them professionally at events, in marketing materials, or in front of customers and fans, professional production is the smarter investment. A professionally built custom mascot costume is engineered for durability, performer comfort, and visual impact in a way that is very difficult to replicate without years of experience.
- Define your purpose: Is this for personal use or professional brand representation?
- Assess your skills: Do you have sculpting, sewing, and finishing experience?
- Calculate real costs: Materials, tools, and your time add up quickly on a DIY build
- Consider the timeline: Professional production has a predictable delivery window; DIY timelines are harder to control
- Think about longevity: A professionally built head is designed to last through repeated use and cleaning
How Promo Bears helps with custom mascot head production
We take the complexity of foam selection, carving, and construction completely off your plate. At Promo Bears, every custom mascot head is built by experienced makers who know exactly which materials deliver the best results for durability, comfort, and visual impact. Here’s what you get when you work with us:
- A free concept illustration based on your logo or design idea, with unlimited revisions until it is exactly right
- Lifelike 3D eyes and an integrated ventilation system built into every head for performer comfort
- A dedicated project manager who guides your project from first sketch to final delivery
- Thorough quality control with result photos shared before shipping
- Standard production in 12 to 16 weeks, with rush options available for tighter deadlines
- Costumes designed to fit performers between 5’7″ and 6’1″, with custom sizing available on request
Whether you represent a sports franchise, a university, a retail brand, or a corporate organization, we have the experience to bring your mascot to life at a professional standard. With over 4,000 mascots created for clients including NASA, Amazon, and Walmart, we know what it takes to make a mascot that performs as well as it looks.
Ready to see what your mascot could look like? Get your free concept illustration today and let us show you what is possible.
Frequently Asked Questions
Can I use spray foam or expanding foam to build a mascot head?
Spray foam is not recommended as a primary building material for mascot heads because it expands unpredictably and is extremely difficult to control for precise shaping. While it can be useful for filling small gaps or adding quick bulk in non-critical areas, the resulting surface is irregular and hard to carve cleanly. For any serious mascot build, medium-density polyurethane foam blocks will always give you better results in terms of workability, consistency, and finish quality.
How do I seal and finish carved polyurethane foam so it holds up during performances?
The most common and reliable method is to coat the carved PU foam with a flexible sealant such as Plasti-Dip, which creates a durable skin that accepts paint and protects the foam from moisture, sweat, and physical contact. Apply multiple thin coats rather than one thick coat to avoid cracking, and allow each layer to dry fully before adding the next. Once sealed, the surface can be painted with flexible acrylic paints and then covered with fabric, fur, or foam clay details depending on your design.
What tools do I need to carve a mascot head from polyurethane foam?
The essential toolkit for carving a PU foam mascot head includes a long serrated bread knife or electric carving knife for rough shaping, a surform rasp for intermediate contouring, and coarse-to-medium sandpaper for smoothing and refining surfaces. An electric foam cutter or hot wire tool can speed up the rough-shaping stage significantly. For fine detail work around features like nostrils, brow ridges, or teeth, a rotary tool with a sanding drum gives you the precision control that hand tools cannot.
How do I keep a mascot head from getting too heavy for the performer to wear comfortably?
Weight management starts at the material selection stage — choosing medium-density PU foam over high-density alternatives immediately reduces the base weight of the shell. Strategic hollowing of the interior is equally important; removing foam from areas that do not need structural support (such as the top of the head or behind the face) can cut overall weight considerably without compromising the shape. Pairing a lightweight foam shell with a well-fitted internal suspension system or headband also distributes the remaining weight more evenly, reducing neck fatigue during extended wear.
How long does a professionally built mascot head typically last, and what affects its lifespan?
A professionally built mascot head constructed from quality materials and properly sealed can last anywhere from 3 to 7 years or more with regular use, depending on how frequently it is worn and how well it is maintained. The biggest factors affecting lifespan are moisture exposure, the quality of the outer coating and fabric, and how the costume is stored between uses. Storing the head in a climate-controlled environment, spot-cleaning after each use, and avoiding prolonged compression of the foam shell will all significantly extend its usable life.
What are the most common mistakes first-time mascot head builders make when working with foam?
The most frequent mistakes include choosing foam that is too soft (which leads to denting and shape loss), skipping or rushing the sealing step (which leaves raw foam vulnerable to damage and impossible to paint evenly), and trying to carve too much detail too early before the basic form is established. Another common error is underestimating how much the foam compresses once fabric and finishing layers are added, which can distort features that looked correct on the raw foam. Working in stages — rough shape first, then intermediate refinement, then fine detail — prevents most of these issues.
Is it possible to repair a damaged mascot head, or does it need to be fully rebuilt?
Minor damage such as small tears, dents, or surface cracks is almost always repairable without a full rebuild, especially on a professionally sealed PU foam head. Torn foam sections can be re-bonded with contact cement, surface dents can be filled with foam clay or a flexible filler, and re-coating the affected area with Plasti-Dip or a similar sealant restores the protective layer. More extensive structural damage — such as a crushed jaw section or a collapsed brow — may require replacing that specific foam section, but a skilled builder can often do this without dismantling the entire head.